This week I take a look at Reverse Osmosis (RO) water systems and why they are a popular choice for many home and professional beer brewers. Water has a huge impact on the flavor of your beer in large part because it is the dominant beer ingredient.
While many brewers are blessed with perfectly good brewing water from the tap, there are a lot of areas around the world where that is not the case. I once lived in the mountains of New Mexico and the water was extremely hard making it unsuitable for making beer or even a good cup of coffee. I was forced to use distilled water from the local store for brewing instead. An RO system lets you get near-distilled water from a regular water source, usually at a lower total cost.
In addition to compensating for bad water, RO water provides a blank slate for you to build up your desired water profile by adding water salts. RO lets you duplicate a water profile to match a particular city or beer style so you can brew just about anything. The problem with starting with tap water is that it contains a certain starting mineral ion content, and you can’t remove minerals unless you dilute it. That is why so many professional brewers use a RO water system. It gives them a blank slate to start with from which to build up different water profiles for any style of beer.
What is Reverse Osmosis Water?
Reverse osmosis is a sophisticated water purification method to remove unwanted minerals and contaminants from your local water source. RO systems use a semi-permeable membrane that only allows pure water molecules through. This leaves the unwanted minerals and other particles behind giving you water that is very close to distilled water on the output side.
A typical RO system applies pressure to the water to force molecules through the membrane, and will reduce the Total Dissolved Solids (TDS) in a typical tap water from 300-500ppm down to 1-10 ppm. When we talk about brewing water, we are typically most concerned with the big six brewing ions which are Calcium, Bicarbonate, Sulfate, Chloride, Sodium and Magnesium. The RO system will usually leave only trace concentrations of these ions in the single digits in terms of ppm.
This means that RO water is for practical purposes equivalent to distilled water when used as a base water. Since we do need some ions to support both flavor and fermentation, brewers using RO water will add salts to match a given water profile using a software tool like BeerSmith.
Considerations for Selecting a Brewing RO Water System
RO water systems come in all shapes and sizes with various features and capabilities. Here are a few of the major features and specs to consider:
- Filtration Stages: Modern systems filter using several membranes arranged in stages. The number of stages drives the quality of the water output. Most brewing systems have 6 or more filtration stages to reduce total dissolved solids from 300-500 ppm down to 1-10ppm. I would recommend at least 5-7 stages for a typical brewing RO system.
- Flow Rate: Reverse Osmosis is a time consuming process as the water needs to be pushed under pressure through each of the stages. Small RO systems are typically rated in Gallons Per Day (GPD) or Liters Per Day. This is the ideal volume the system can produce in a single 24 hour period. To put it in perspective a 100 GPD system would only produce about 4.2 gallons (15.9 liters) of pure water in an hour. So you need to consider how much water you want to use for a typical batch and how long you are willing to wait to fill your mash and sparge tun as well as any extra water. 50 GPD is probably a bare minimum for a home system, with 100 GPD or larger providing better capacity.
- Water Storage: Because the osmosis process is slow, many systems come with a storage tank either built in or as a separate purchase. This lets you store purified water so you don’t have to sit and wait hours for the water to fill up your mash tun or hot liquor tank. If you choose instead to go tankless you may want to purchase a higher capacity system in the 400+ GPD range so you can get better throughput on brew day.
- Size: The RO system and storage tanks are not the most attractive appliances, so many brewers prefer to mount them in a cabinet or under the sink with a separate tap so you can draw water when needed. However, if you are going to cabinet mount your system you need to make sure it fits the somewhat cramped space under most kitchen sink cabinets.
- Maintenance: Most RO systems require you to change the pre-filter, which is the filter going into the system every six months, and the RO membrane itself needs to be changed every 2-5 years.’
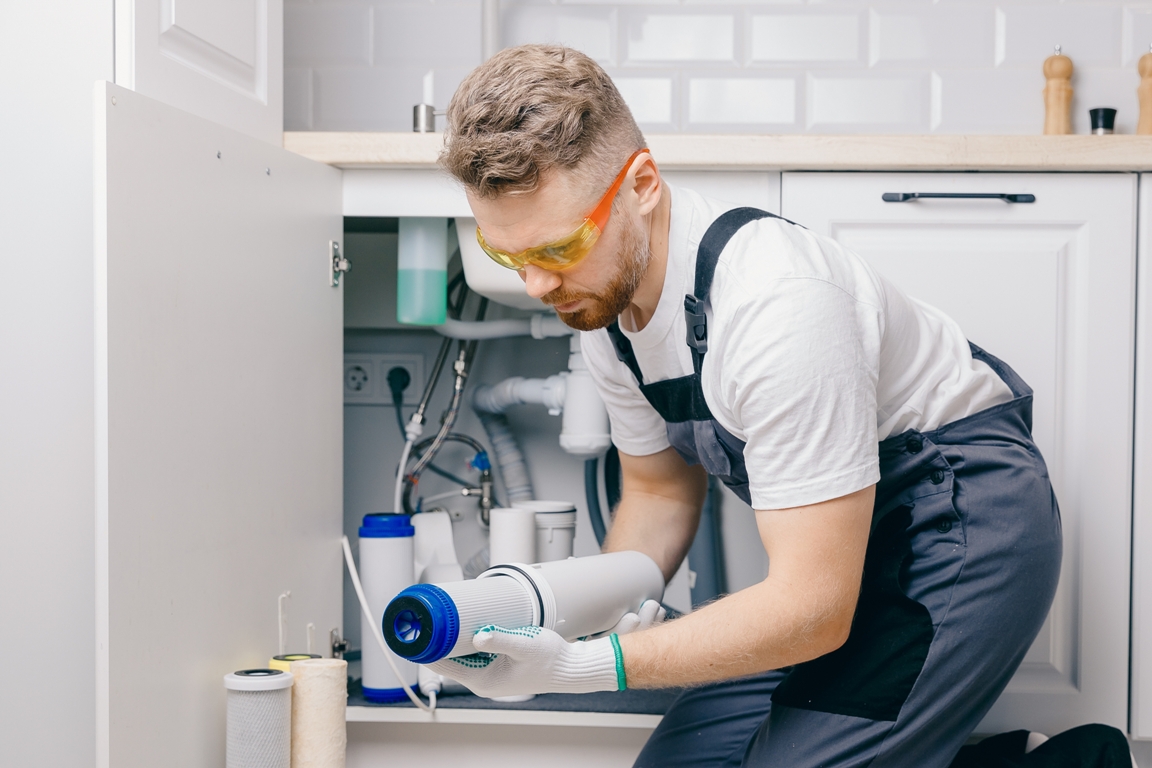
Small home RO systems typically connect directly to your water system and many are designed to mount under the counter with a separate tap for the water output.
Using an RO System for Brewing Beer
Using an RO system for home brewing is really quite easy, as the RO system just provides the raw water you use to brew. The only major consideration is capacity and flow rate as some systems can take hours to produce the water volume needed for a typical 5 gal (19l) or larger batch. So some planning ahead may be needed to collect all of the water you need for mashing in, sparging and completing the brew.
Since RO water has virtually zero ion content, and you do need at least some minerals in your beer for a proper brew as outlined here, virtually everyone who brews with RO water adds water salts to match their target water profile. Common water salts include Gypsum (CaSO4), Table Salt (NaCl), Epsom Salt (MgSO4), Calcium Chloride (CaCl), Baking Soda (NaHCO3), Chalk (CaCO3), Magnesium Chloride (MgCl), and Pickling Lime (Ca (OH)2). These are typically used in the annhydrous (dry) form by brewers.
Since each of the salts contain at least two ions, calculating the closest match to a given target water profile is actually a linear optimization problem. The typical approach is to use a least squares fit which minimizes the square of the distance between the target water profile and the adjusted water profile. Achieving this optimal match is typically not done manually, as it requires multiple passes and linear algebra.
However, software like BeerSmith have the least squares algorithm built into the recipe builder. So, if you have a recipe set up in BeerSmith and go to the water tab you can match a profile in a minute or two. Simply open the recipe, go to the water tab and add your base water profile and volume at the top. Typically this will be a RO or Distilled base water profile with the total water volume shown for completing the brew.
Next just click the Match Water Profile button and a dialog will show up that lets you match your profile. Click on Choose Target Profile and select any of the preloaded water profiles depending on your beer style or city you are trying to match. The program will find the best fit and calculate the salts to add for the mash and sparge. There are also checkboxes to exclude less common salts if desired. If you press OK those salts will be added to your ingredient list and included in the Brew Steps sheet if you print that out before brewing. Note there is a video on the entire process here.
I hope you enjoyed this week’s article on RO water systems. Thanks for joining me on the BeerSmith Home Brewing Blog. If you want to take the guesswork out of brewing, please try my BeerSmith recipe software from BeerSmith.com. Be sure to sign up for my newsletter or my podcast (also on itunes and youtube) for more great tips on homebrewing.